Science Fair Projects
physicshard high 2 days

Building a Simple Electric Motor

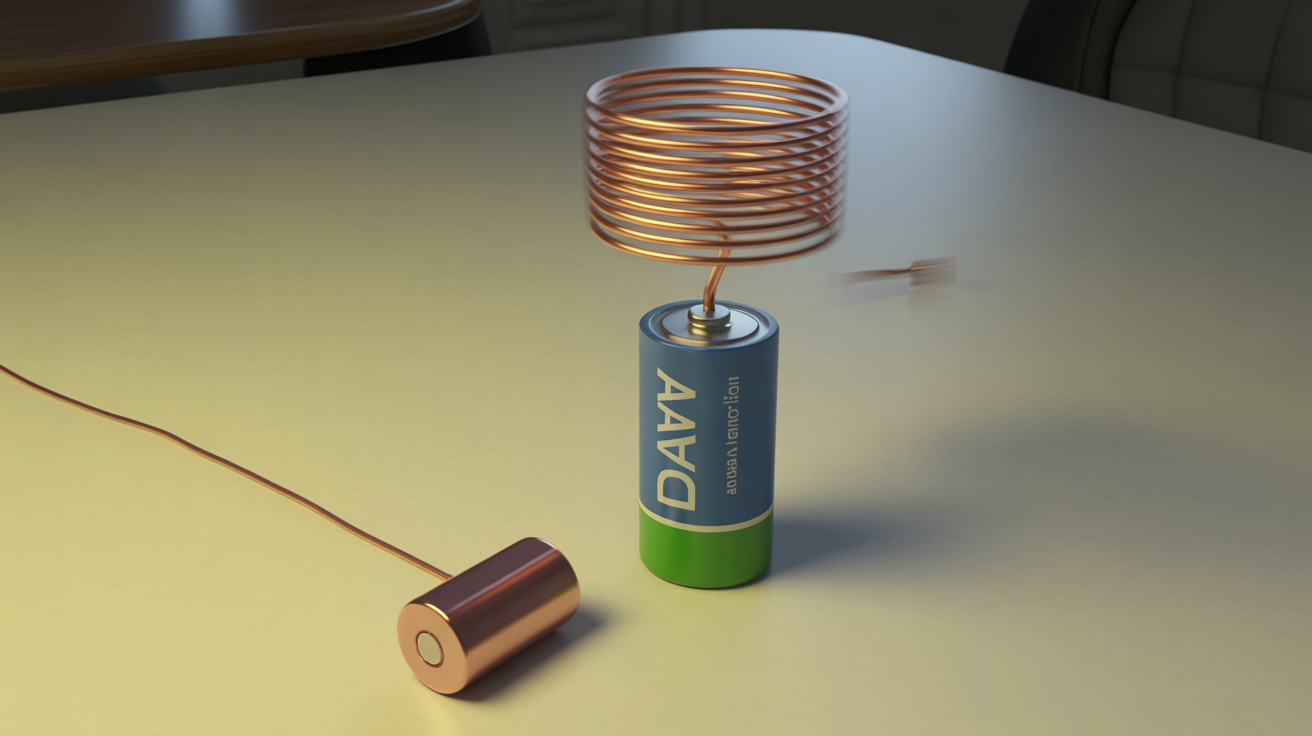
This project involves building one of the simplest types of electric motors, a homopolar motor. By creating a circuit with a battery, a magnet, and a conductive screw, you can demonstrate how electrical energy is converted into mechanical motion.

Building a Simple Electric Motor

Hypothesis

If an electric current is passed through a conductive screw in the presence of a magnetic field, then the screw will experience a rotational force (torque) due to the Lorentz force, causing it to spin and function as a simple motor.

Materials Needed

AA battery — 1Buy
Neodymium disc magnet — 1Buy
Steel screw — 1Buy
Copper wire — 6 inchesBuy

As an Amazon Associate, this site earns from qualifying purchases.

Step-by-Step Procedure

  1. 1

    Place the head of the screw onto the center of the magnet.

  2. 2

    Let the point of the screw hang down.

  3. 3

    Hold the battery and touch the positive terminal to the head of the screw.

  4. 4

    Now, take the copper wire and touch one end to the negative terminal of the battery.

  5. 5

    Touch the other end of the wire to the side of the magnet.

  6. 6

    Observe what happens to the screw and magnet.

  7. 7

    Experiment with flipping the battery or the magnet to see how it affects the direction of the spin.

Expected Results

When the circuit is completed, the screw and magnet will begin to spin rapidly. This is because the current flowing from the battery, through the screw, and to the magnet creates a magnetic field that interacts with the field of the permanent magnet. This interaction produces a force (the Lorentz force) that creates a torque, causing the rotation.

Variables

Independent Variable

The direction of the electric current and the orientation of the magnetic field.

Dependent Variable

The direction and speed of the motor's rotation.

Controlled Variables

The type of battery, magnet, and screw used.

Safety Notes

The wire and battery can get hot, so be careful not to hold them for too long. Neodymium magnets are very strong and can pinch fingers or damage electronic devices. Keep them away from computers, phones, and credit cards.

Presentation Tips

  • Have your motor assembled and ready to demonstrate live.

  • Use clear diagrams to explain the flow of current and the direction of the magnetic fields and the resulting force.

  • Discuss the applications of electric motors in everyday life, from fans to electric cars.

Frequently Asked Questions

What is the Lorentz force?

The Lorentz force is the force exerted on a charged particle moving through a magnetic field. In this motor, the moving charges are the electrons in the electric current, and the force on them is what creates the torque that spins the motor.

Why is it called a homopolar motor?

It is called a homopolar motor because the polarity of the magnetic field and the direction of the current do not change as the motor rotates. This is different from most conventional DC motors, which use commutators to reverse the current direction.

Can I use a different type of battery or magnet?

You can experiment with different batteries and magnets, but a strong neodymium magnet and a fresh battery will give you the best results. The stronger the current and the magnetic field, the faster the motor will spin.

Related Projects

Acoustic Resonance Experiment: Standing Waves in Tubes Science Fair Project
physicsmedium

Acoustic Resonance Experiment: Standing Waves in Tubes Science Fair Project

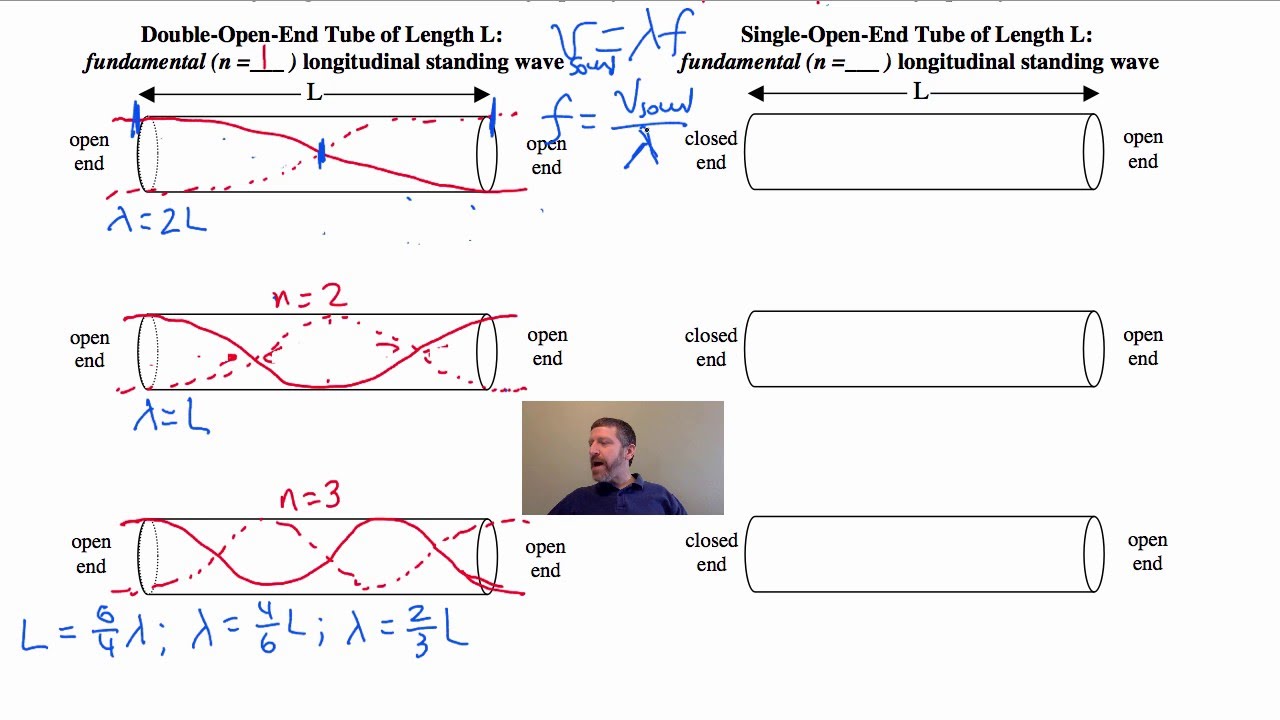
This experiment allows you to explore sound waves and resonance using tubes. By creating standing waves, you'll visualize how sound behaves in different environments. Perfect for middle school science fairs!

7 days·middle
Analyzing Quantum Tunneling in Semiconductor Devices
physicshard

Analyzing Quantum Tunneling in Semiconductor Devices

This project investigates quantum tunneling phenomena within semiconductor devices. Students will measure how electrons traverse energy barriers and analyze how this impacts device efficiency.

25 days·high
Archimedes' Principle: Testing Buoyancy with Different Objects
physicsmedium

Archimedes' Principle: Testing Buoyancy with Different Objects

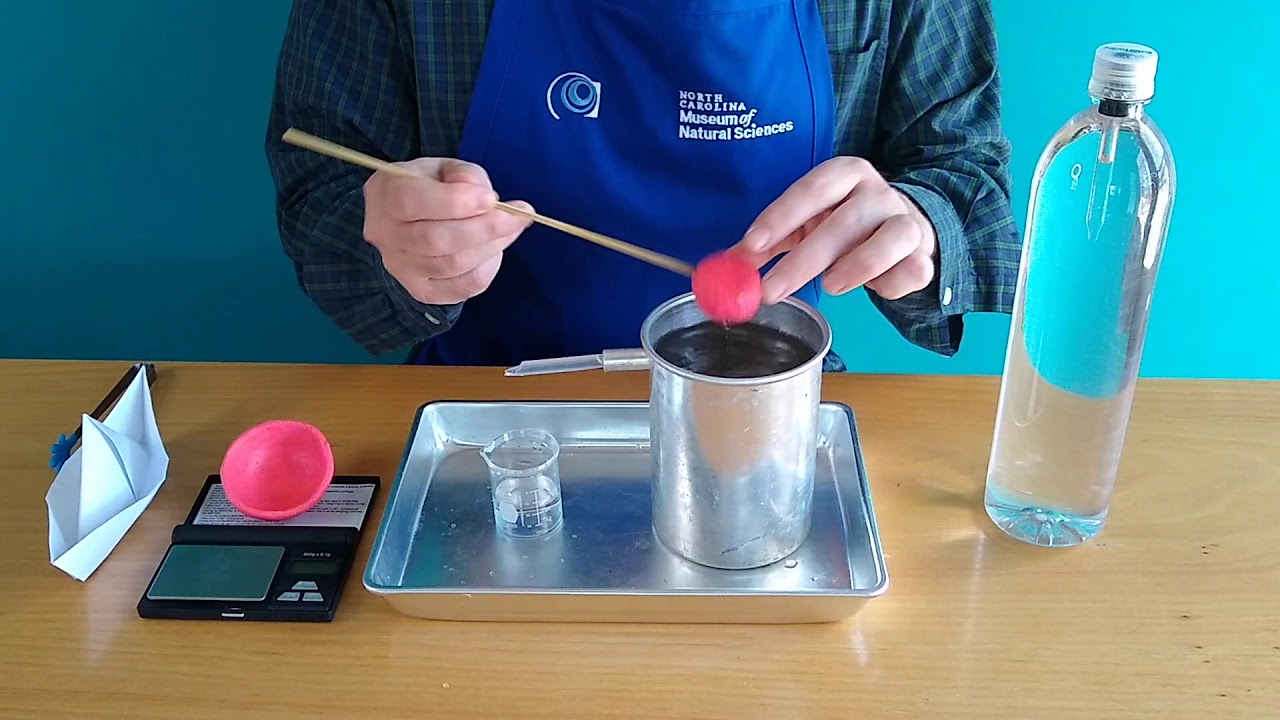
This project allows students to test various objects for buoyancy, demonstrating Archimedes' principle. It engages students in hands-on learning about density and displacement.

7 days·middle
Astronomical Observation - Tracking Planetary Motion
physicsmedium

Astronomical Observation - Tracking Planetary Motion

In this project, you will observe and record the positions of planets in the night sky over a month. By using a telescope or binoculars, you will track their movements, document their position on specific dates, and analyze their orbits to understand celestial mechanics. This project fosters an appreciation of astronomy and the dynamics of our solar system.

14 days·high
Atmospheric Pressure and Weather Patterns Analysis
physicsmedium

Atmospheric Pressure and Weather Patterns Analysis

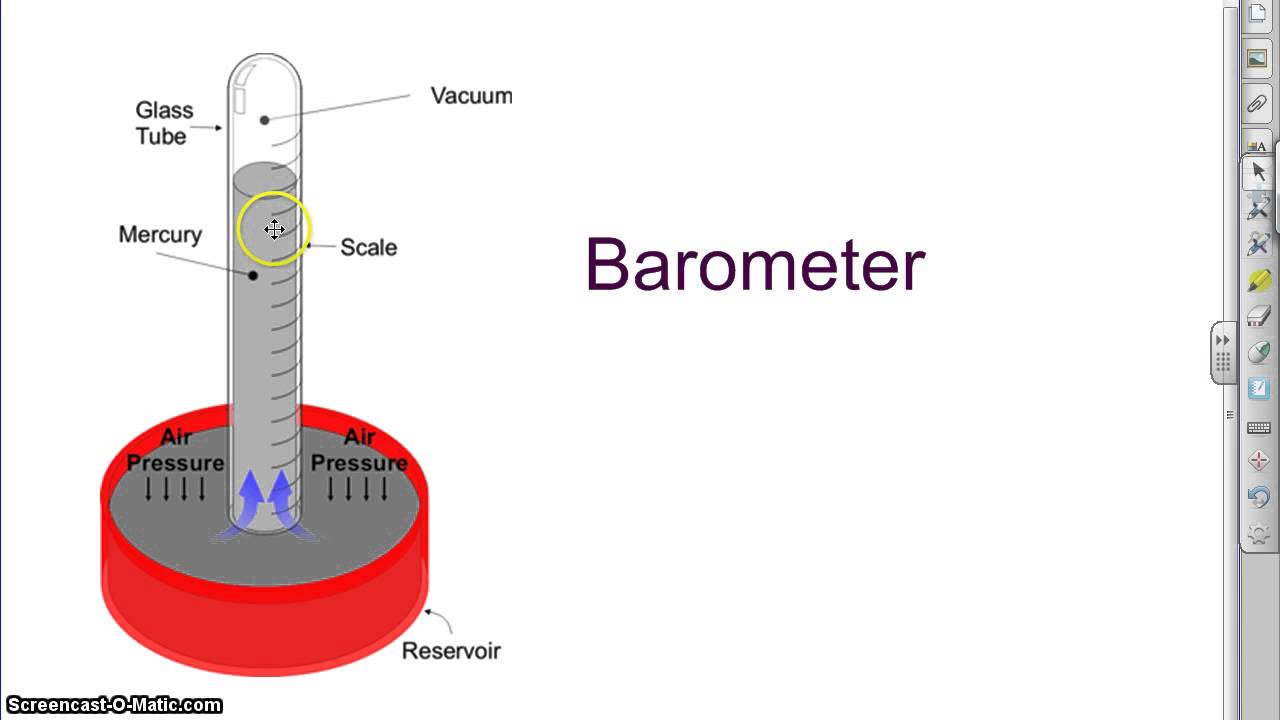
This project investigates how changes in atmospheric pressure correlate with weather conditions. By using a barometer to measure pressure and recording local weather patterns over a week, you will analyze the data to determine relationships and predict weather changes. This project emphasizes the importance of atmospheric science in understanding our climate.

7 days·middle
Balancing Act: Finding the Center of Gravity of Irregular Shapes
physicseasy

Balancing Act: Finding the Center of Gravity of Irregular Shapes

Discover how to find the center of gravity by balancing cardboard cutouts of irregular shapes on a pencil point. This project explores how different shapes distribute weight and balance.

2 days·elementary

Like this project? Get more ideas!